When a commercial refrigerator, glass door merchandiser, display cooler, or freezer stops performing as expected, every hour matters. Product temperature, customer experience, and store operations can all be affected. However, many service delays are not caused by the fault itself. They happen because the first service request does not include enough information.
That is where remote troubleshooting refrigeration comes in.
By sending clear photos, short videos, and basic operating data, your supplier or service team can identify the likely cause faster, recommend the right next step, and reduce unnecessary back-and-forth communication. For wholesalers, distributors, supermarkets, convenience stores, restaurants, and beverage brands, a structured troubleshooting workflow can save time, reduce service costs, and help equipment get back to normal operation sooner.
This guide explains exactly what information to collect before submitting a refrigeration service ticket.
Why Remote Troubleshooting Matters for Commercial Refrigeration
Commercial refrigeration problems can look similar on the surface. A cooler that is “not cold enough” may be caused by poor ventilation, dirty condenser coils, a door seal issue, incorrect thermostat settings, blocked airflow, high ambient temperature, or a refrigeration system fault.
Without photos, videos, and data, the service team has to ask basic questions one by one. That slows everything down.
A strong remote troubleshooting workflow helps your after-sales team:
Identify installation or usage issues quickly
Confirm whether the problem is electrical, mechanical, environmental, or operational
Decide whether spare parts may be needed before sending a technician
Reduce repeated site visits
Improve communication between the customer, distributor, and manufacturer
Protect product quality by acting faster
For wholesale refrigeration businesses, this also creates a more professional service experience for customers.
Step 1: Collect Basic Equipment Information
Before taking photos or videos, start with the basic equipment details. These details allow the service team to identify the correct model, cooling system, parts list, and technical specifications.
Include the following in your service ticket:
Product model number
Serial number
Purchase date or invoice number
Installation date
Store name and location
Contact person and phone number
Type of product stored inside the unit
Ambient temperature around the equipment
Power supply voltage, if available
A short description of the issue
Example:
“The glass door merchandiser is running, but the cabinet temperature stays around 48°F after 6 hours. The store temperature is about 78°F. The unit was installed three months ago.”
This kind of description is far more useful than simply saying “cooler not working.”
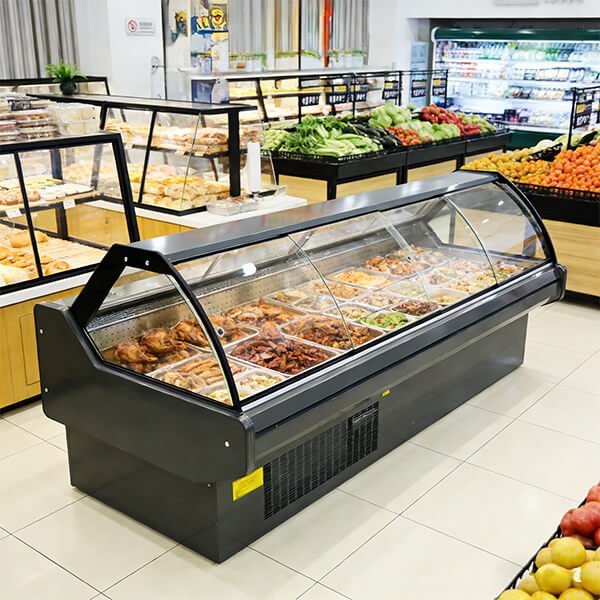
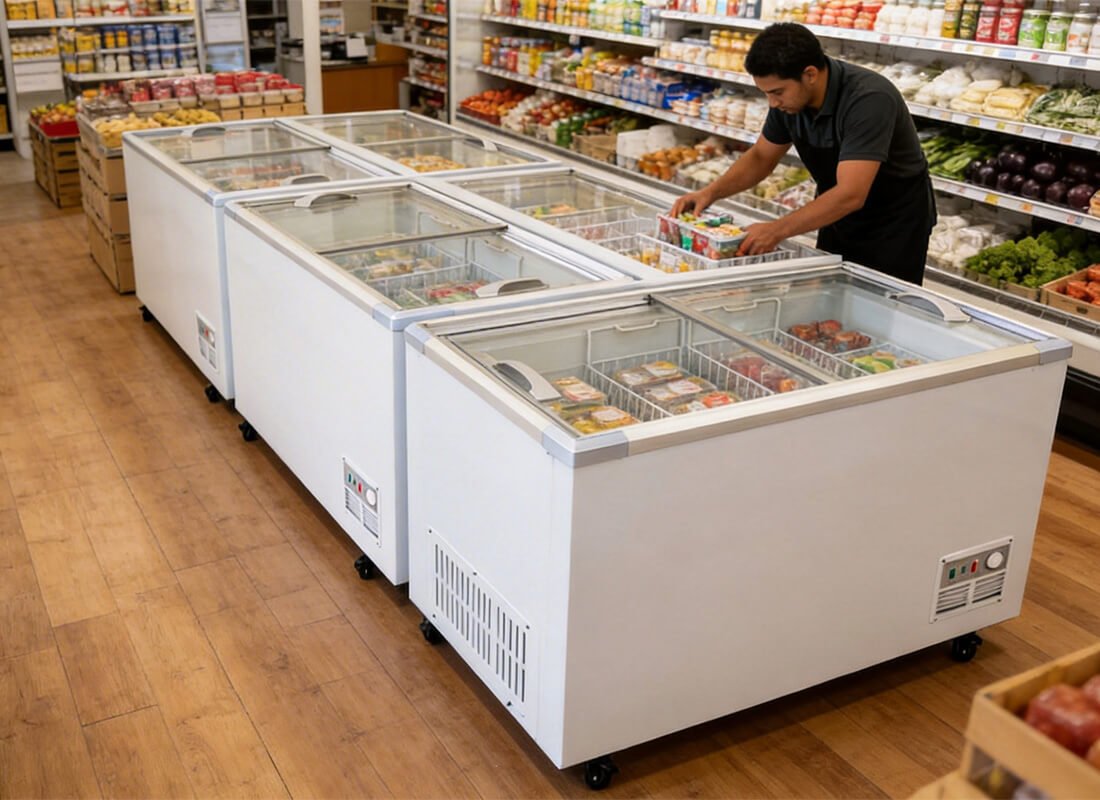
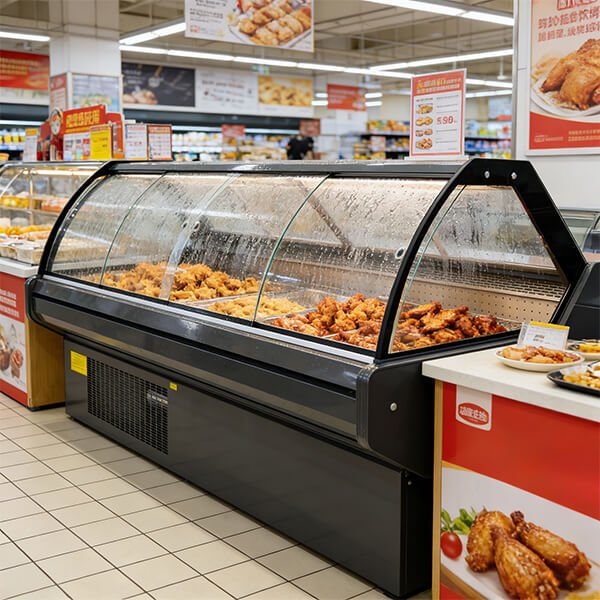
Step 2: Take Clear Photos from the Right Angles
Photos are one of the fastest ways to help a technician understand the situation. They can reveal installation mistakes, airflow restrictions, controller settings, damaged parts, frost patterns, or door alignment issues.
For remote troubleshooting refrigeration issues, provide the following photos:
Full Front View
Take a clear photo of the entire refrigerator or merchandiser from the front. Make sure the doors, control panel, shelves, and product loading condition are visible.
This helps the service team check whether the cabinet is overloaded, whether airflow is blocked, and whether the door is closing properly.
Interior View
Take photos of the inside of the cabinet, including shelves, fans, air outlets, and product placement.
Avoid taking photos only after the product has been removed. The way the cabinet is loaded can be important. Overloading or blocking air circulation is a common cause of poor cooling performance.
Controller or Thermostat Display
Take a close-up photo of the temperature controller, thermostat, or digital display.
If the display shows an error code, make sure the code is sharp and readable. Error codes can often point directly to a sensor, defrost, fan, or compressor-related issue.
Nameplate or Rating Label
Take a close-up photo of the equipment nameplate. This label usually includes the model number, serial number, voltage, refrigerant type, and manufacturing information.
This is especially important for wholesale customers managing multiple similar units.
Back and Side Clearance
Take photos of the back, sides, and top of the unit to show ventilation space.
Many commercial refrigerators require sufficient clearance for heat rejection. If the condenser area is too close to a wall, blocked by boxes, or placed in a poorly ventilated corner, cooling performance may drop.
Condenser Area
If safely accessible, take a photo of the condenser coil and compressor compartment.
Dust buildup, blocked airflow, or poor maintenance can often be identified from a photo. Do not remove panels unless it is safe and permitted by the equipment manual.
Step 3: Record Short Videos for Better Diagnosis
Photos are useful, but videos often provide details that photos cannot show. A short video can help the service team hear unusual noises, see fan movement, observe door closing behavior, and understand how the unit operates in real time.
Keep each video short, clear, and steady. A 20- to 60-second video is usually enough.
Recommended videos include:
Startup Video
Record the unit when it starts or restarts. Capture the sound of the compressor, fans, and controller.
This can help identify abnormal startup noise, delayed compressor operation, fan failure, or electrical cycling.
Door Closing Video
Record the door opening and closing several times.
This helps check whether the door gasket seals properly, whether the hinge is loose, or whether the door stays slightly open after closing.
Fan Operation Video
Record the evaporator fan area inside the cabinet, if visible.
Poor airflow is a common reason for uneven temperature or weak cooling. A video can help confirm whether fans are running normally.
Noise Video
If the customer reports unusual noise, record the sound from different positions: front, back, and side.
Try to reduce background noise during recording. Do not speak over the sound unless you are explaining where the noise is coming from.
Frost or Ice Buildup Video
If there is frost, ice, or water leakage, record the affected area slowly.
Show where the ice starts, how much has built up, and whether water is dripping inside or outside the cabinet.
Step 4: Prepare a Temperature Log
A single temperature reading does not always tell the full story. Refrigeration systems cycle on and off, and cabinet temperature can change depending on door openings, ambient conditions, product loading, and defrost cycles.
A simple temperature log helps the service team see patterns.
Use a calibrated thermometer if possible, and record the cabinet temperature at regular intervals.
Recommended Temperature Log Template
| Date | Time | Cabinet Temperature | Ambient Temperature | Door Openings | Product Load | Notes |
|---|---|---|---|---|---|---|
| May 10 | 8:00 AM | 41°F / 5°C | 77°F / 25°C | Low | 70% full | After overnight operation |
| May 10 | 12:00 PM | 45°F / 7°C | 80°F / 27°C | Medium | 70% full | Lunch traffic |
| May 10 | 4:00 PM | 48°F / 9°C | 82°F / 28°C | High | 60% full | Door opened frequently |
| May 10 | 8:00 PM | 42°F / 6°C | 78°F / 26°C | Low | 60% full | After closing hours |
For best results, collect readings over at least 6 to 24 hours. If the issue is intermittent, a longer log may be needed.
Step 5: Check the Installation Environment
Many refrigeration issues are related to the installation environment, not the equipment itself. Before submitting a ticket, inspect the surrounding area.
Check these points:
Is the unit placed indoors or outdoors?
Is it exposed to direct sunlight?
Is it near ovens, grills, heaters, or warm air vents?
Is the ambient temperature within the recommended operating range?
Is there enough space around the condenser for ventilation?
Is the floor level?
Is the power outlet dedicated to the unit?
Is the extension cord being used?
Are air curtains, doors, or HVAC vents affecting performance?
For commercial merchandisers and display coolers, location matters. A cooler placed beside a heat source or under direct sunlight will work harder and may struggle to maintain temperature.
Step 6: Describe the Problem Clearly
A good service description should be specific. Avoid vague statements like “not working,” “bad cooling,” or “broken.”
Instead, describe what happened, when it started, and what changed.
Useful examples:
“The unit powers on, fans are running, but the cabinet temperature does not drop below 50°F.”
“The compressor starts for about 10 seconds, then stops.”
“The digital controller shows E1 after startup.”
“There is heavy ice buildup on the inside back panel.”
“Water is leaking from the front right corner after defrost.”
“The door does not close fully unless pushed by hand.”
“The cooler was moved to a new location yesterday, and the issue started after that.”
The more precise the description, the faster the service team can narrow down the cause.
Step 7: Use a Standard Service Ticket Checklist
A standardized checklist is one of the best ways to improve after-sales efficiency. It ensures that the customer, distributor, and manufacturer all work from the same information.
Remote Refrigeration Troubleshooting Checklist
Before submitting a service ticket, collect:
Model number and serial number
Purchase or invoice information
Clear description of the issue
Full front photo of the unit
Interior photo showing product loading
Photo of the controller or error code
Photo of the nameplate
Photos of back and side clearance
Photo of condenser area, if accessible
Short video of startup operation
Short video of fan operation
Short video of door closing
Temperature log for 6 to 24 hours
Ambient temperature around the unit
Information about recent changes, movement, cleaning, or power interruptions
For wholesale refrigeration suppliers, this checklist can be shared with distributors, dealers, and end users to reduce incomplete service requests.
Common Refrigeration Issues That Can Be Diagnosed Remotely
Not every problem can be fully solved remotely, but many issues can be identified or narrowed down before a technician arrives.
Poor Cooling Performance
Possible causes include blocked airflow, dirty condenser coils, high ambient temperature, incorrect thermostat settings, overloaded shelves, poor door sealing, or refrigerant system issues.
Photos of product loading, ventilation clearance, and temperature logs are especially helpful.
Excessive Frost or Ice
Heavy frost may be related to frequent door openings, damaged gaskets, warm product loading, defrost system issues, or fan problems.
Photos and videos of the frost pattern can help the service team determine whether the issue is operational or mechanical.
Water Leakage
Water leakage may be caused by a blocked drain line, improper leveling, excessive condensation, defrost problems, or damaged drain components.
A video showing where the water appears is very useful.
Unusual Noise
Noise may come from fans, compressor vibration, loose panels, uneven floor placement, or refrigerant flow.
A quiet video recorded near the source of the sound can help the technician identify the likely cause.
Error Codes
Digital controllers often display fault codes related to sensors, defrost, temperature limits, or communication errors.
A clear photo of the display is essential.
Best Practices for Wholesalers and Distributors
For wholesale refrigeration businesses, remote troubleshooting should not be handled case by case without a system. A consistent process improves response time and customer satisfaction.
Recommended best practices include:
Create a standard service ticket form
Provide customers with a photo and video guide
Use a shared temperature log template
Train sales and after-sales teams to request the same information
Keep model manuals and spare parts lists organized
Build a library of common fault examples
Record service outcomes to improve future diagnosis
When distributors submit complete information the first time, manufacturers can respond faster and more accurately.
How Remote Troubleshooting Reduces Service Delays
A complete troubleshooting package allows the service team to make better decisions earlier.
For example, if the photos show that the condenser is blocked by a wall, the first recommendation may be to improve ventilation before sending parts. If the video shows that the evaporator fan is not running, the service team can prepare the correct fan motor or wiring guidance. If the temperature log shows normal overnight performance but high daytime temperature, frequent door openings or high ambient conditions may be the main factor.
This saves time for everyone involved.
Instead of multiple emails asking for missing details, the service team can move directly to diagnosis and action.
Final Thoughts
Remote troubleshooting refrigeration issues is not just a technical process. It is a communication system.
By collecting the right photos, videos, and data logs, customers can help service teams understand the problem faster and provide better support. For wholesalers, distributors, and commercial refrigeration suppliers, a clear troubleshooting workflow can reduce delays, lower service costs, and improve the customer experience.
Before submitting your next refrigeration service ticket, take a few minutes to collect the key details. A clear photo, a short video, and a simple temperature log can make the difference between a long back-and-forth conversation and a fast, accurate solution.
FAQ
What is remote troubleshooting for refrigeration equipment?
Remote troubleshooting for refrigeration equipment is the process of diagnosing a cooler, freezer, merchandiser, or commercial refrigerator issue using photos, videos, temperature logs, and service information before sending a technician or spare parts.
What photos should I send for a refrigerator failure?
You should send photos of the full front view, cabinet interior, controller display, model nameplate, back and side clearance, condenser area, and any visible frost, leakage, damage, or error code.
How long should I record a temperature log?
For most refrigeration troubleshooting cases, a 6- to 24-hour temperature log is recommended. If the issue happens only occasionally, a longer log may be needed to identify patterns.
What should be included in a refrigeration service ticket?
A refrigeration service ticket should include the model number, serial number, purchase information, issue description, photos, videos, temperature readings, ambient temperature, installation environment, and any recent changes such as relocation, cleaning, or power interruption.
Can remote troubleshooting solve all refrigeration problems?
No. Some problems require an on-site technician. However, remote troubleshooting can help identify simple installation or usage issues, narrow down the likely cause, and prepare the right parts or service plan before a site visit.
Why is my commercial refrigerator running but not cooling properly?
Common causes include blocked airflow, dirty condenser coils, poor ventilation, incorrect temperature settings, damaged door gaskets, overloaded shelves, high ambient temperature, fan failure, or refrigeration system problems.
What kind of video is useful for troubleshooting a merchandiser?
Useful videos include startup operation, fan movement, door closing, unusual noise, frost buildup, water leakage, and controller behavior. Keep videos short, steady, and clear.
How can wholesalers improve after-sales refrigeration support?
Wholesalers can improve support by using a standard service ticket checklist, requiring photos and videos, providing a temperature log template, training distributors, and organizing product manuals, spare parts lists, and common troubleshooting cases.